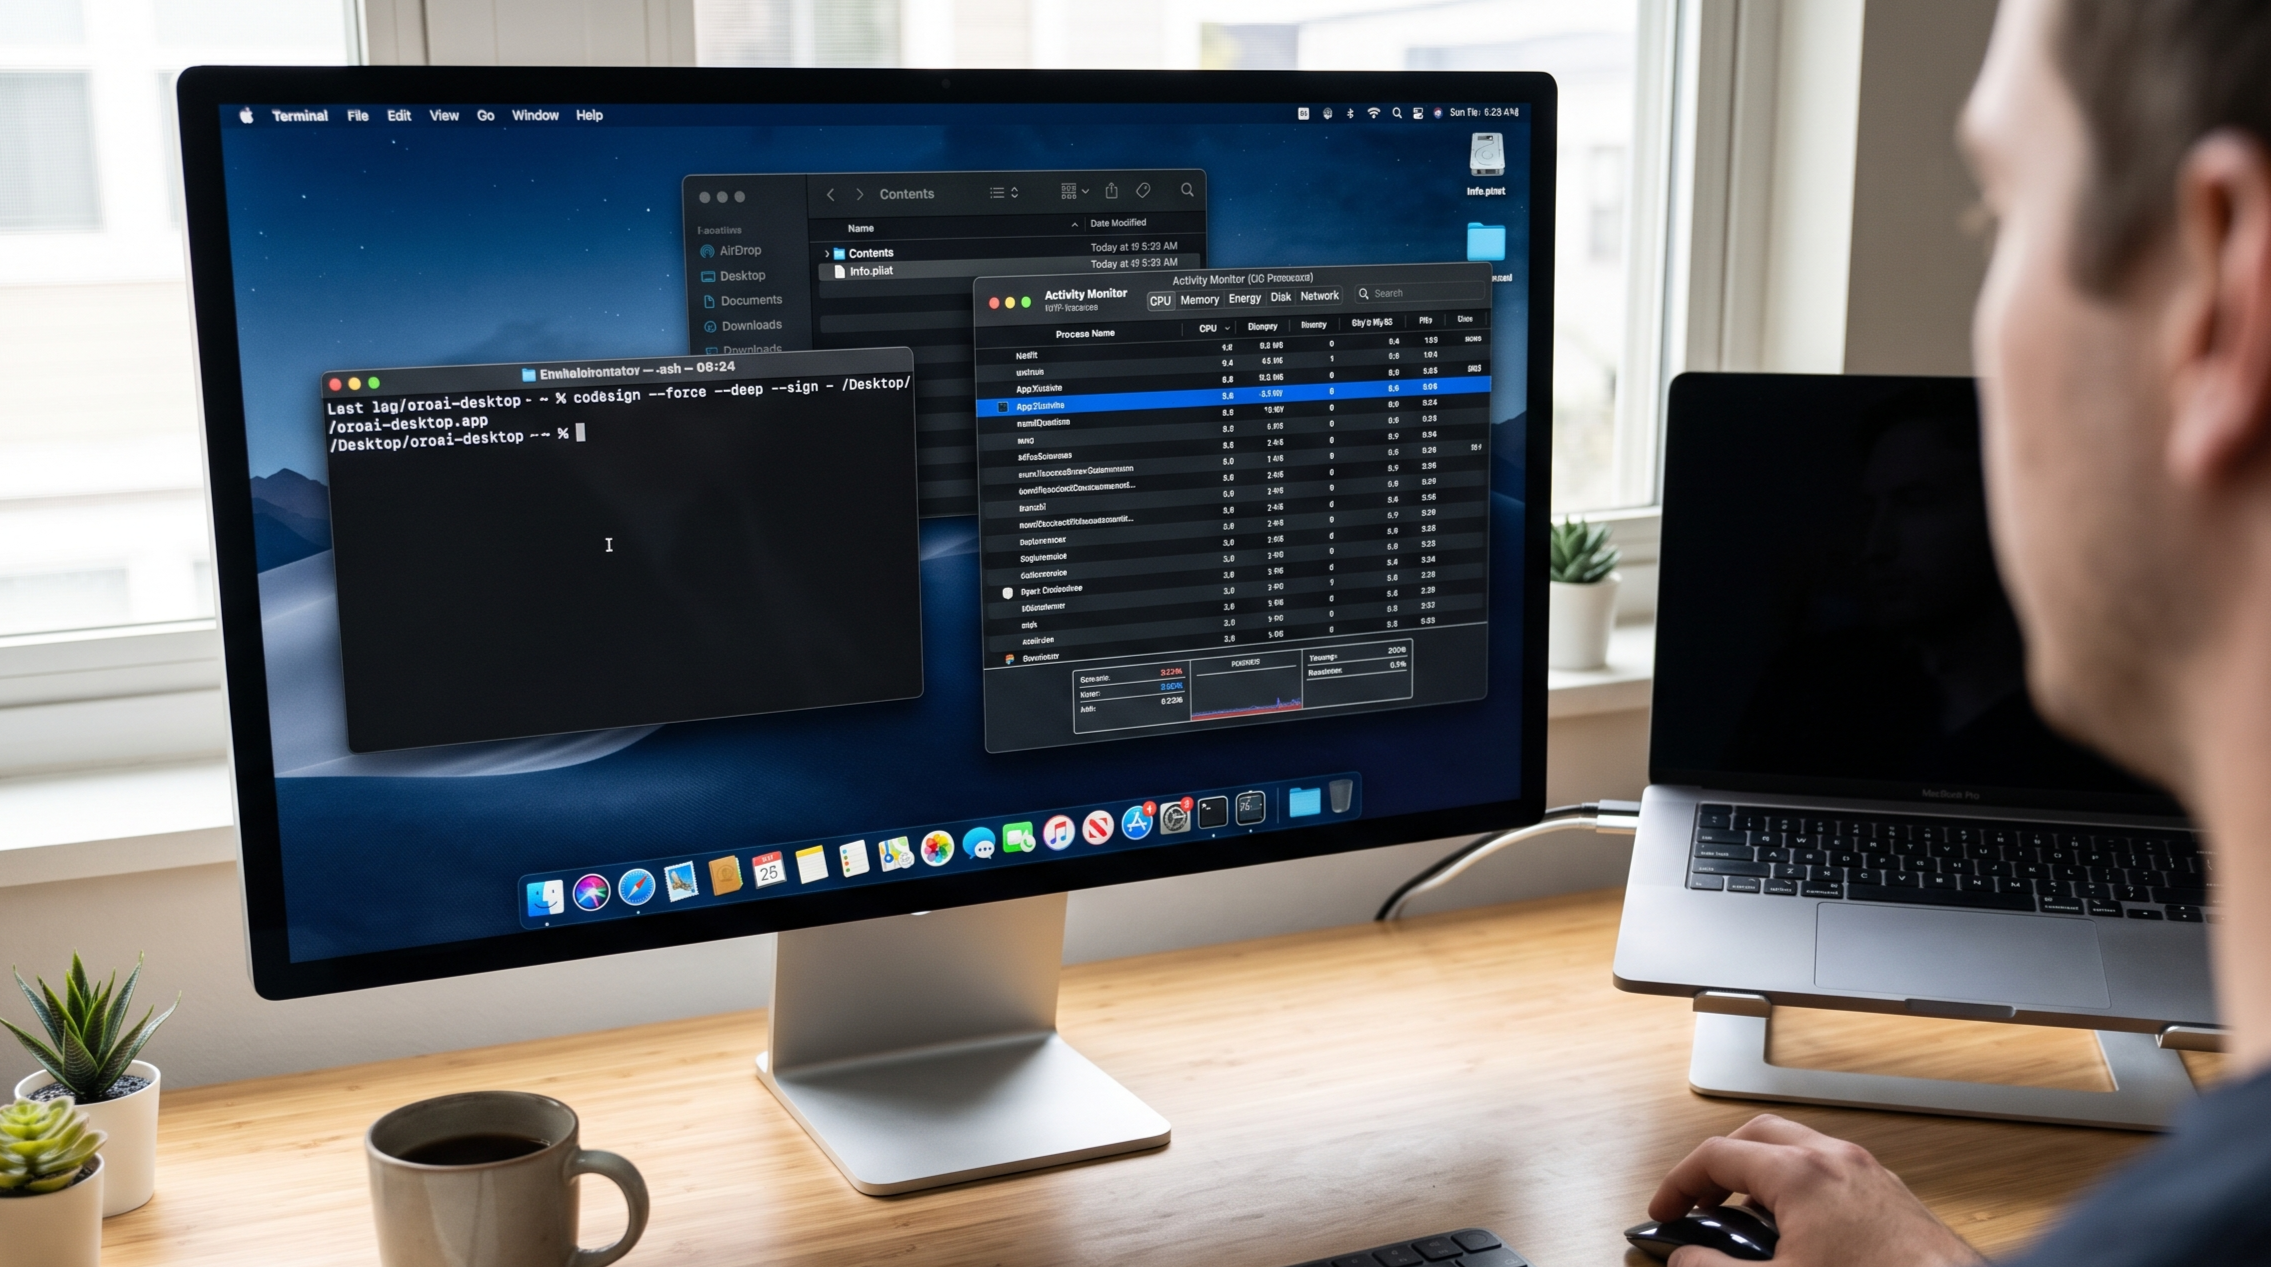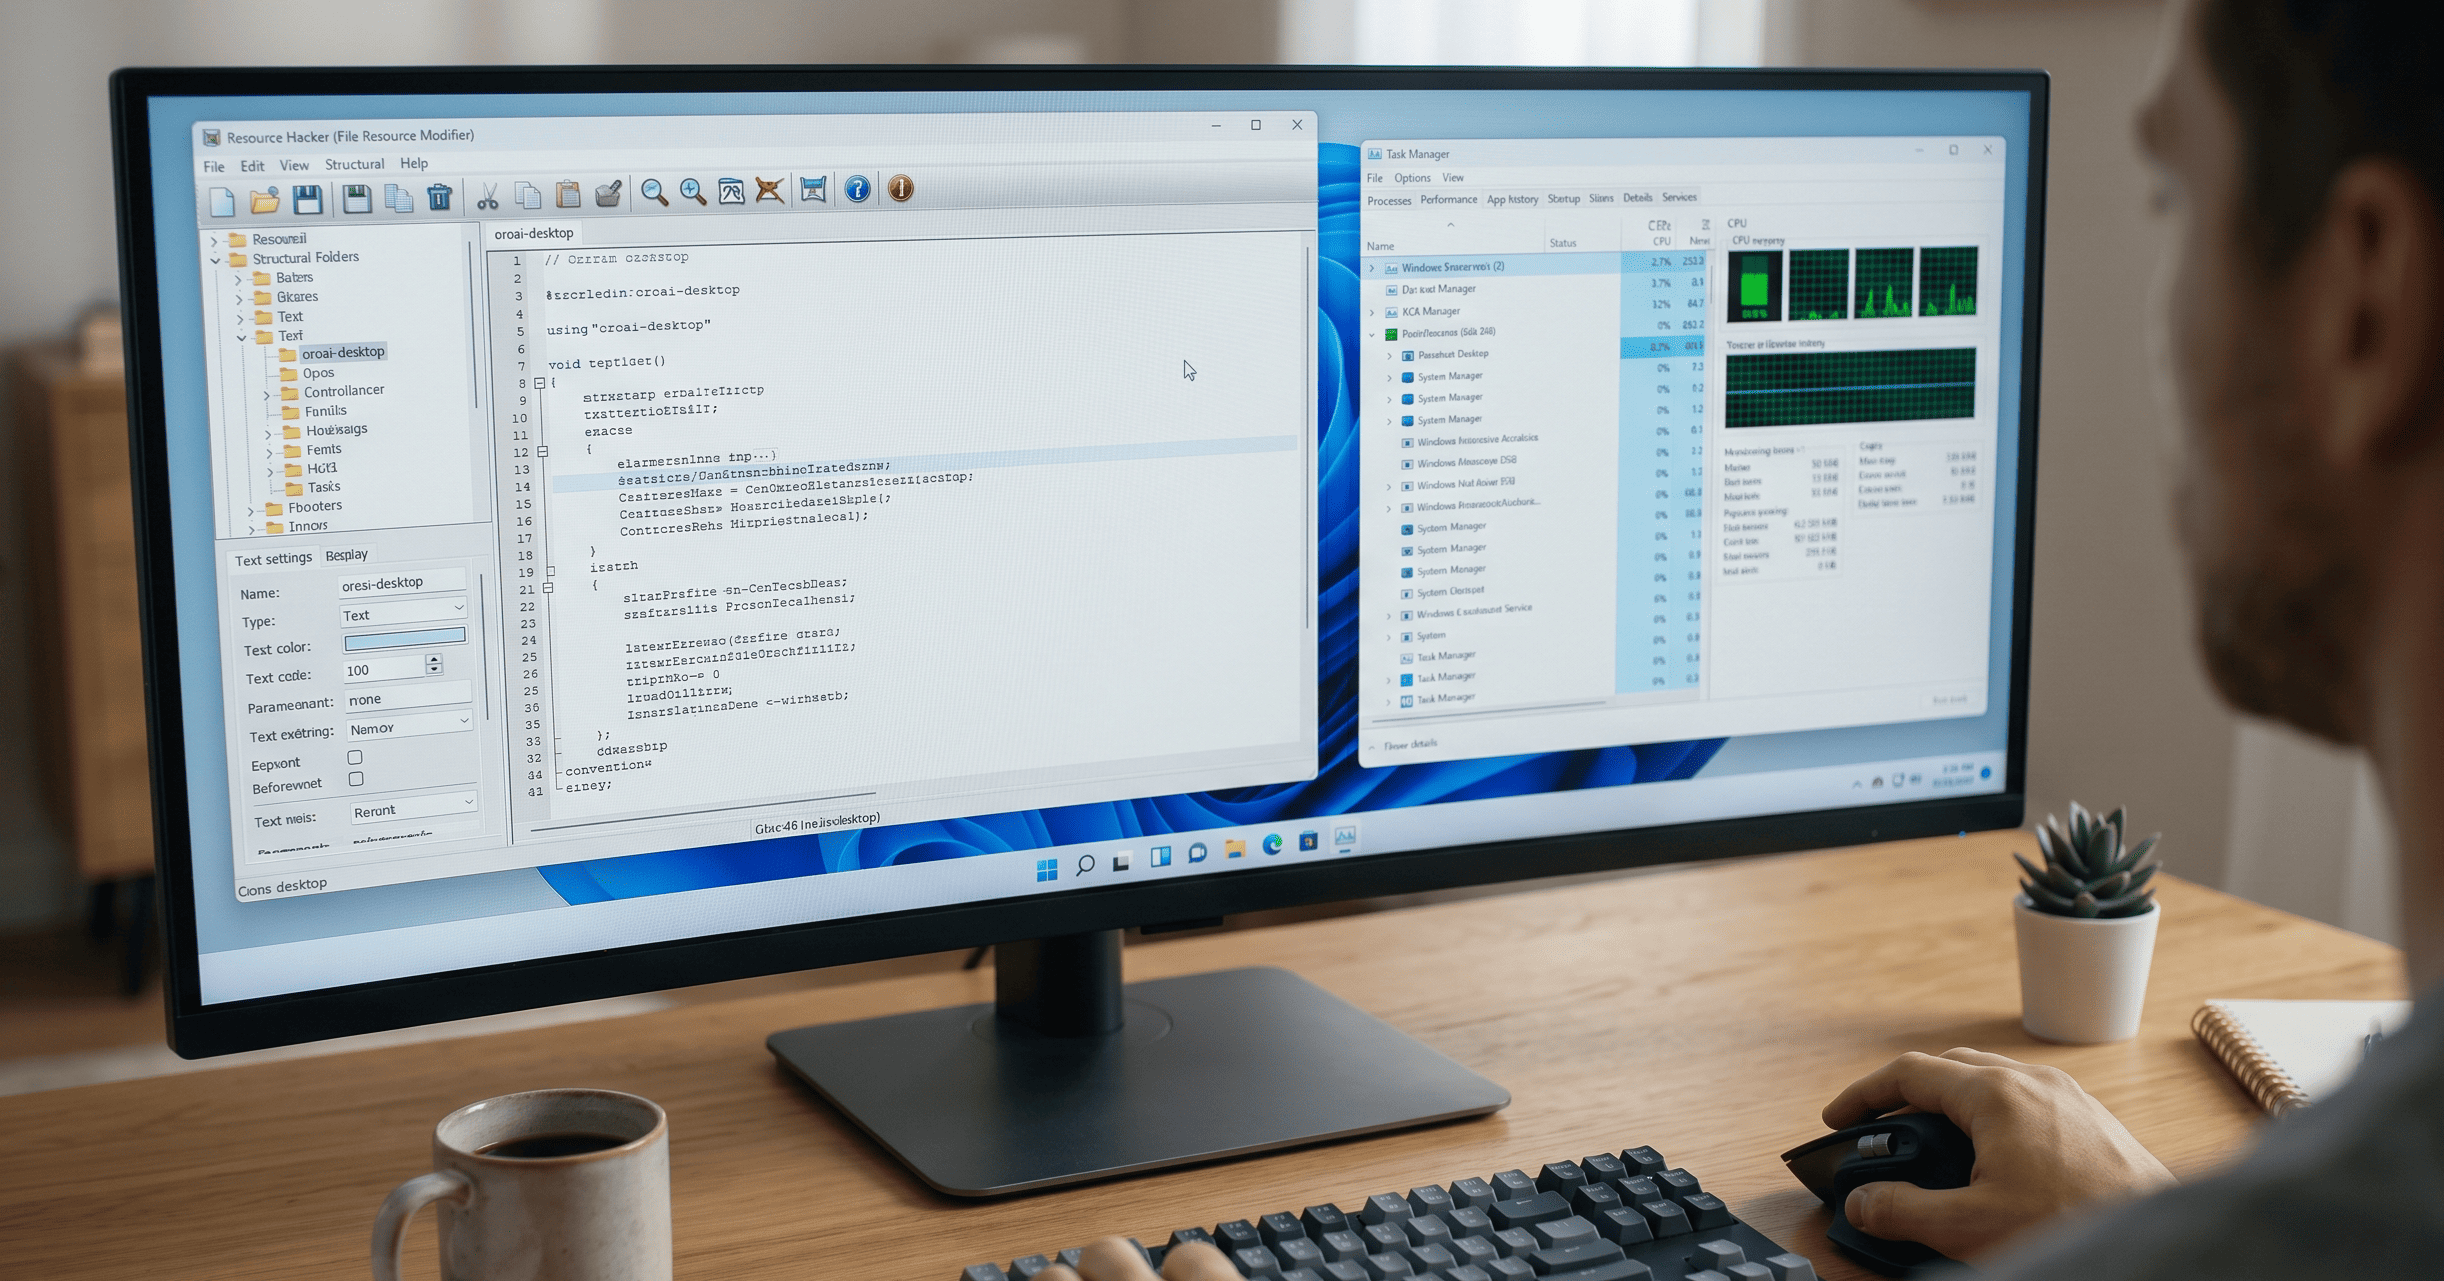
During remote interviews, screen-sharing sessions, or monitored environments, users often prefer to keep their tools private and discreet. Avoiding distractions and keeping a minimalist setup can help you focus on the task at hand.
This guide will show you how to hide oroai-desktop from the Windows Task Manager using a community-driven technique through Resource Hacker, ensuring complete task manager invisibility and icon masking.
Prerequisites
Before proceeding, ensure you have the following:
- Resource Hacker: A free utility to view, modify, and extract resources in Windows executables.
- oroai-desktop Application: Ensure it’s installed on your system.
- Custom Icon (Optional): A multi-size
.icofile (at least 128x128 pixels recommended) if you wish to completely mask the application’s visual presence.
Step-by-Step Guide to Hide oroai-desktop
1. Backup the Original Executable
Before making any changes, it is critical to create a backup of the original oroai-desktop executable.
- Navigate to the installation directory (e.g.,
C:\Program Files\oroai-desktop). - Copy the
oroai-desktop.exefile and paste it in a safe, separate location.
2. Modify the Executable with Resource Hacker
a. Open the Executable
- Launch Resource Hacker (Download here: Resource Hacker).
- Click on File > Open and select your
oroai-desktop.exefile.
b. Change the Version Information (Process Metadata)
- In the left pane, expand the Version Info folder. Click on the main entry (usually labeled
1or1033). - In the right pane, locate the fields for
VALUE "FileDescription"andVALUE "ProductName". - Modify these values to something generic that blends in with background tasks, such as
"System Process","Windows Service", or"Runtime Manager". - Once finished, click Compile Script at the top of the window.
c. Change the Icon (Optional)
- Expand the Icon Group folder on the left pane.
- Right-click on the first item and select Replace Resource (or Action > Replace Icon).
- Click Open file with new icon... and select your custom
.icofile. - Click Replace. (Note: It's best practice to repeat this for all icon entries so the icon is consistent across File Explorer and the Taskbar).
d. Save the Modified Executable
- Click File > Save As and save the modified executable (e.g.,
oroai-desktop_masked.exe). - Replace the old executable with your newly modified one inside the original installation directory.
3. Clear the Icon Cache
Windows caches icons persistently, so to see your new disguised icon, you’ll need to clear the icon cache:
- Open Command Prompt as an Administrator.
- Execute the following commands one by one, pressing Enter after each:
Plaintext
taskkill /IM explorer.exe /F
DEL /A /F /Q "%localappdata%\IconCache.db"
DEL /A /F /Q "%localappdata%\Microsoft\Windows\Explorer\iconcache_*"
start explorer.exe
(Alternatively, you can just manually restart your computer to force Windows to rebuild the cache).
4. Verify in Task Manager and Explorer
After refreshing or restarting:
- Open Task Manager and check the Name, Description, and Icon columns.
- Open File Explorer to confirm the icon now reflects your updated disguise.
If you see the new name and generic icon, congratulations—your masking is complete!
Best Practices for Hiding oroai-desktop
- Use Descriptive Names: When renaming the application or changing its description, use names that seamlessly blend in with standard system processes. Avoid names that sound like malware, which might trigger your antivirus.
- Regular Backups: Always keep a backup of the original
oroai-desktop.exefile before making modifications. Changing a signed executable's digital signature can sometimes prompt a Windows SmartScreen warning. - Stay Updated: If oroai-desktop pushes an app update, the new installation will overwrite your changes. You will need to repeat this process for the newly updated executable.
Conclusion
By implementing the community-driven steps in this guide, users can personalize their desktop experience, maintain complete privacy, and ensure their oroai-desktop app remains perfectly disguised in the background.